Presenting a more modern look and feel, the pinned mode of the Record Selector provides the user with a more convenient way of working with a set of objects on a detail page. The seamless design makes it easier to glance through the necessary information. Facilitating faster navigation between objects, the card layout provides you with the ability to navigate to any object of your choice by simply clicking on one of the cards while having the page displaying the particular object right next to it. Adding a sense of personalization, the Record Selector lets you decide what you would like to see on a card, eliminating the information that you would think is additional.
N/A
N/A
N/A
N/A
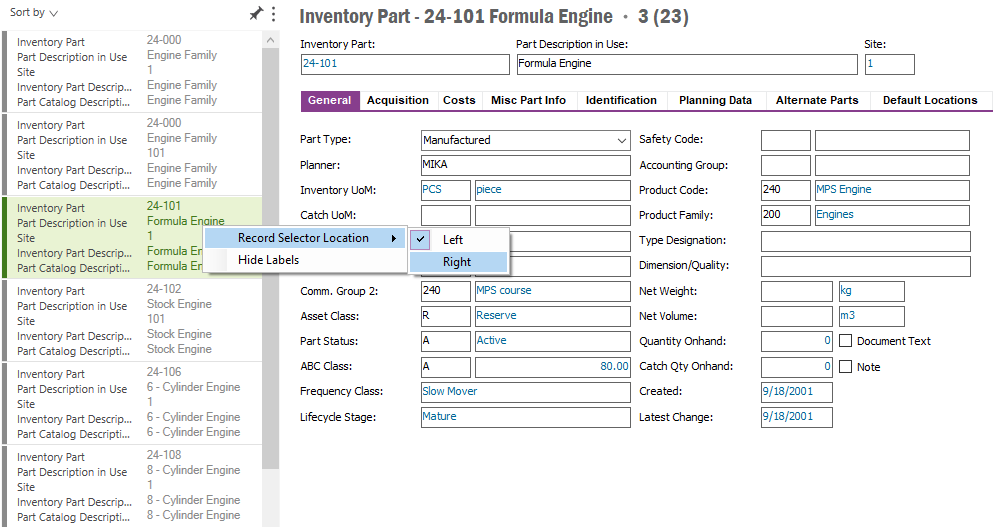
The Record Selector can be positioned to the left/right side of your work area depending on your preference. In order to position it either to the left or the right, open up the RMB Menu option ‘Record Selector Location’ and then select either Left or Right.
Figure 1: RMB Menu Option ‘Record Selector Location’.
Drag the splitter to resize the Record Selector. It can be adjusted to your choice of width. The cursor will indicate the possibility to resize once you take the mouse pointer on to the edge of the Record Selector.
The content of the Cards in the Card Layout would adjust accordingly when you adjust the splitter; the Cards would display only the values when you set the Record Selector width to its minimum. Once you drag back the splitter, the Labels will reappear. You could actually decide what you want to see as the content, read the section Manage what you want to see for more information.
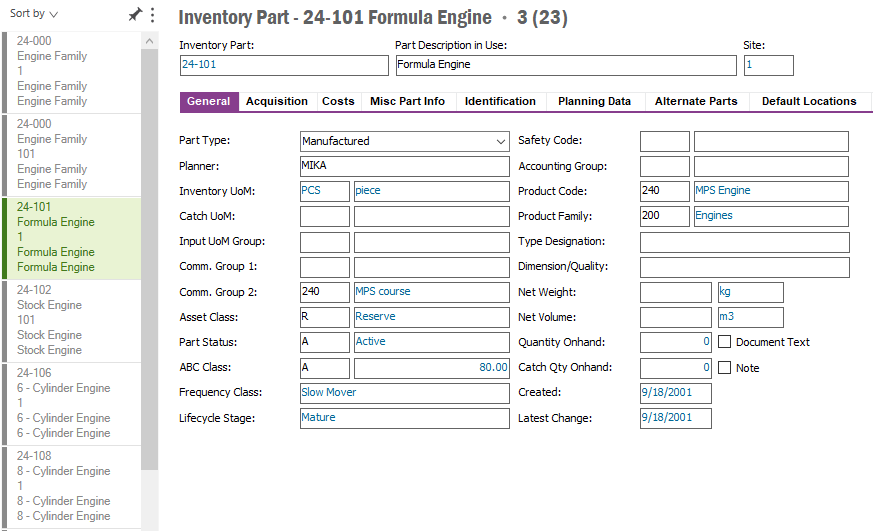
Figure 2: Record Selector width minimized to its minimum.
The new card layout introduced along with the pinned mode of the Record Selector, would display a complete list of the objects that were fetched after a populate or a search on a detail page. The records would be displayed as cards, making it easy to distinguish between the different objects. Note that fields which do not contain any value will display the default value ‘(Empty)’ on the card.
Once a new object is added to the list or when an object is deleted from the list of objects, the card layout would reflect the change, adjusting accordingly. When a new object is created and saved, the corresponding card would be displayed at the bottom of the list. When an object is deleted, the rest of the cards would shift up to fill that space.
Show/Hide Labels
By default, the cards in the Record Selector contain both Labels (field names) and the corresponding values displayed on the card. If a user who is more familiar with the data being dealt with in the detail page whishes not to see the repetitive labels on the card or else has the intension to minimize the space consumed by the Record Selector; he can switch to the version of the card that will not display the labels. This can be achieved by either selecting the RMB Menu option ‘Hide Labels’ or by clicking on the toggle button (Light Green strip) on the Left side of the card. Note that this setting would be applied to the whole set of cards making sure that all cards look consistent in their appearance.
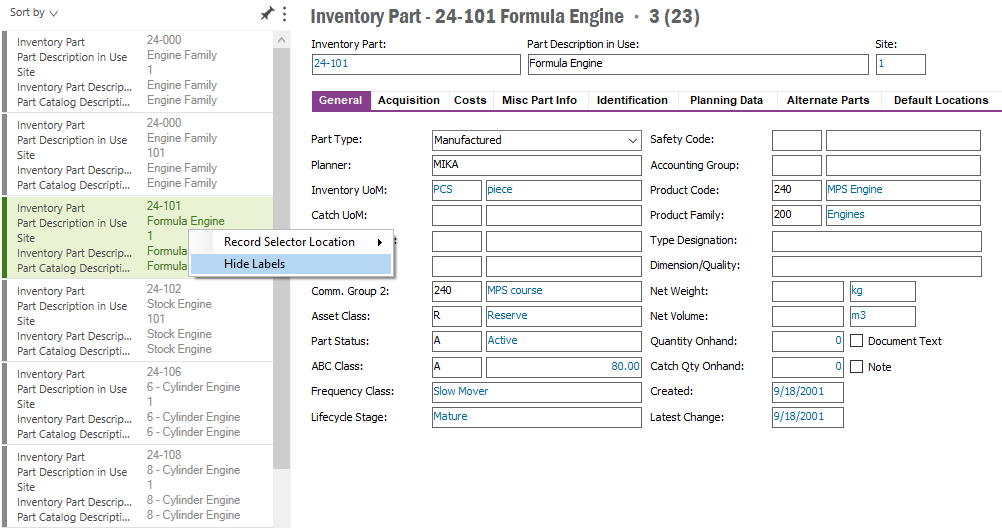
Figure 3: RMB Menu Option 'Hide Labels'.
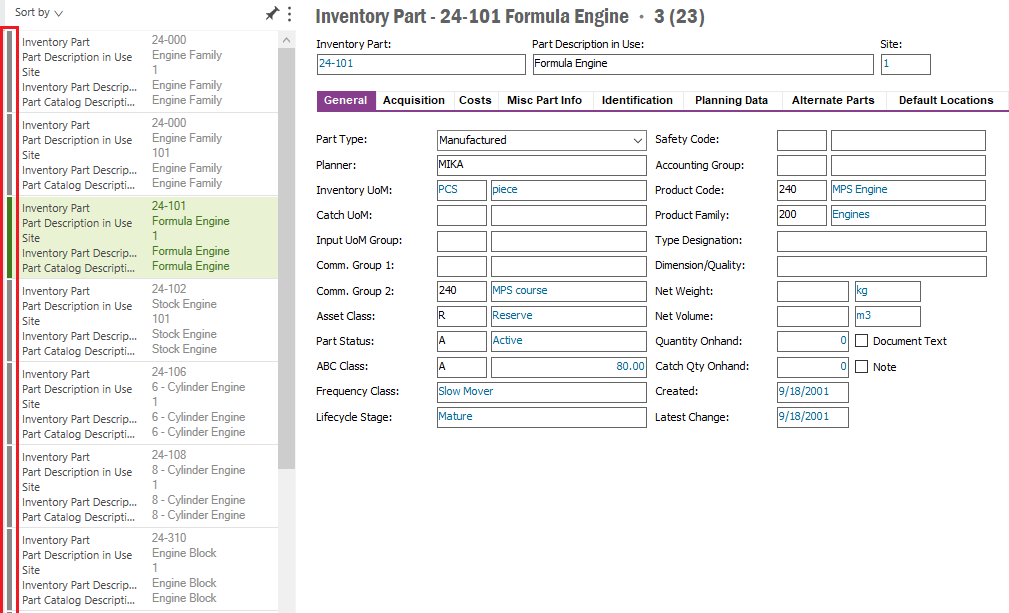
Figure 4: Click on the Toggle Button on the left side of the card to Show/Hide labels.
Choose which Fields to see
By Default, all the Fields available in the unpinned mode of the Record Selector are visible on the cards. When it comes to the pinned mode of the Record Selector, with the new card layout, it is made possible for the user to decide which fields he wants to see on the cards. This is a setting that could be specified by selecting/ deselecting checkboxes on the fly out menu which you get when you click on the More Options icon on the top right corner of the Record Selector.
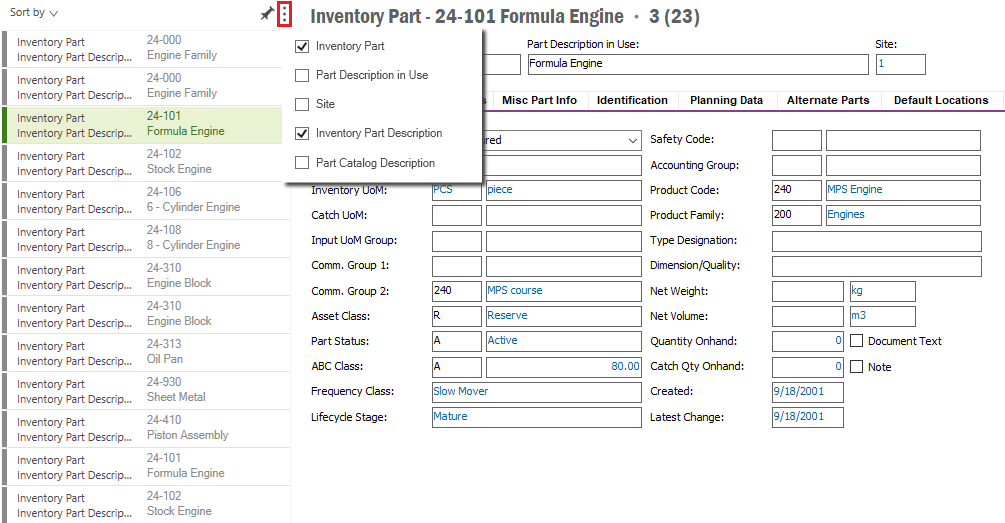
Figure 5: More Options icon on the top right corner of the Record Selector.
Note that if you do any changes to the visibility of the fields displayed on the Record Selector via customizing the screen layout, you will no longer see them once the Application is restarted. This is same as with the unpinned mode of the Record Selector.
Use the drop down available in the top left corner as "Sort By" to specify which field you like the records in the selector to be sorted on.
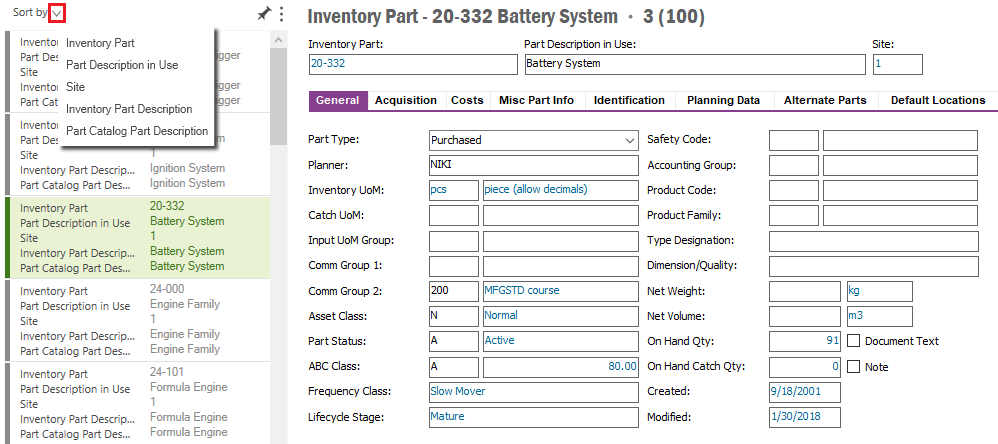
Figure 6: Sort field selection at the top left corner.
Once you select a sort field an arrow will indicate if the records are sorted ascending or descending. Clicking on the arrow will change the sort direction.
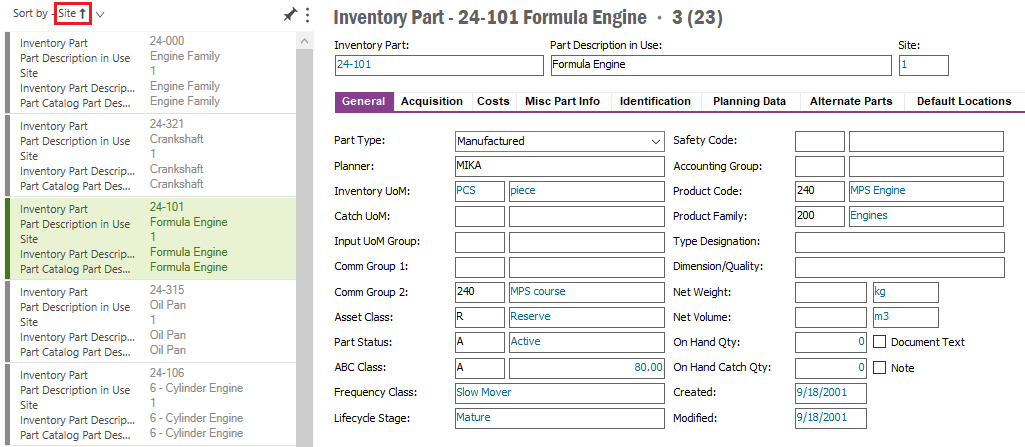
Figure 7: Sorted record selector.
Sort field and the sort direction are common when the record selector is in pinned mode and unpinned mode.
Simply click on the card of your choice to view the particular object in the work area. Scroll down to view the cards that are not in the current view. Use Arrow up/Arrow down to navigate through the cards in the Record Selector. Note that you can use Ctrl + Arrow Up/ Ctrl + Arrow Down to navigate through the records while the focus is elsewhere other than on the Record Selector. This works in the same manner as in the unpinned mode of the Record Selector.
When you have the focus elsewhere or once you have tabbed out the Record Selector, you can use Ctrl + Shift +R to get back the focus on to the Record Selector.
Click on the unpin button on the top panel of the pinned Record Selector to unpin it. You can also use Ctrl + Shift + P.
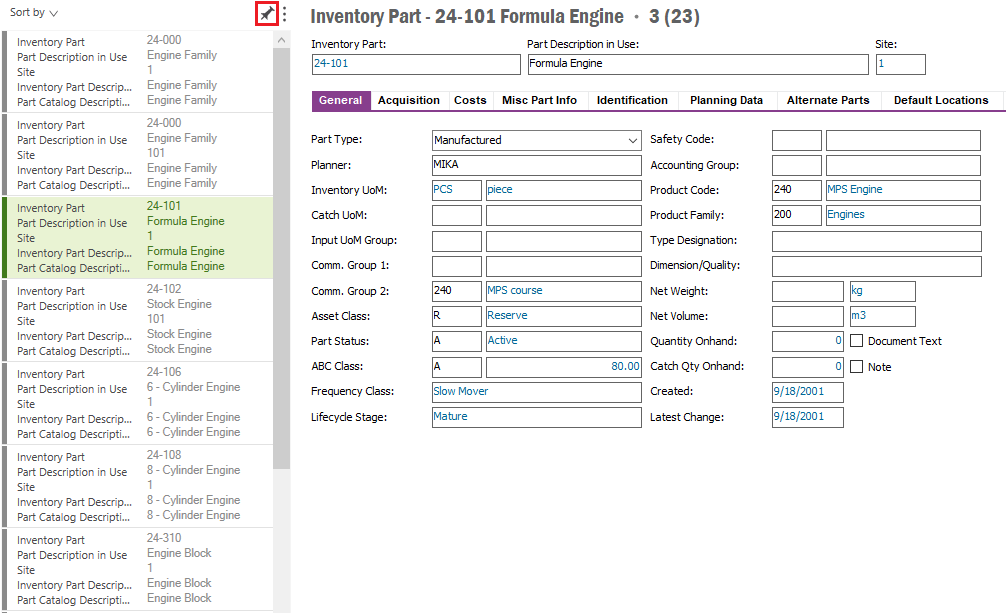
Figure 8: Unpin the Record Selector using the Unpin Button.